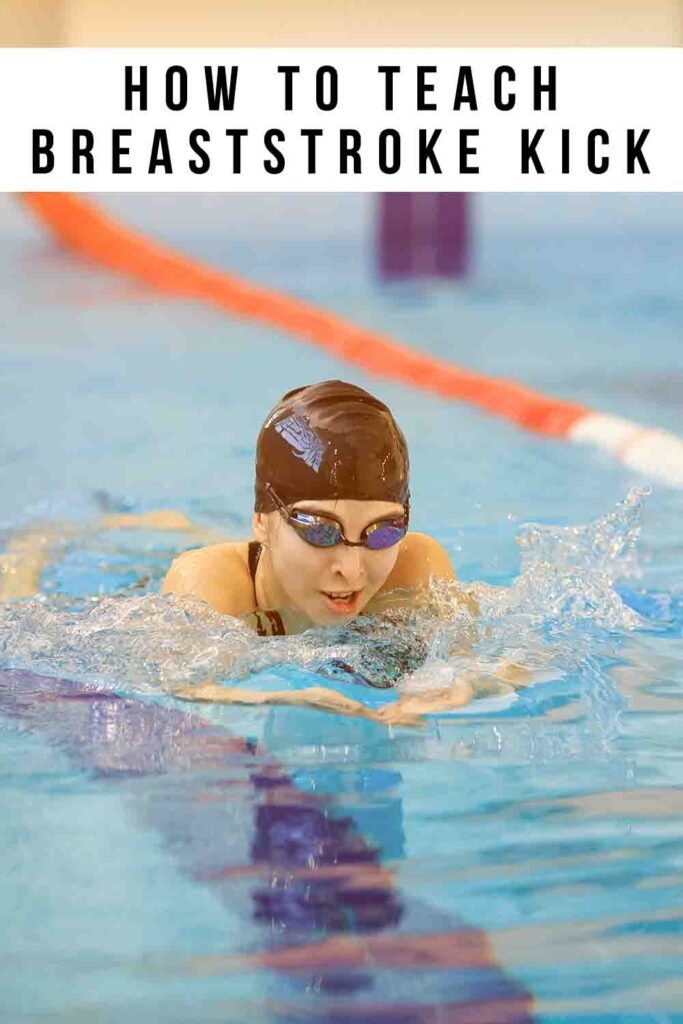
How to Teach Breaststroke Kick
When it comes to learning how to teach breaststroke kick, plenty of people struggle. With this swimming stroke, your power comes from the kick. So, emphasizing the wrong body parts can be a quick route to teaching poor technique! And, whilst this stroke is one of my favorites, I know just how hard it can be to learn the intricate coordination and movements necessary. So, in this guide, I’ll take a closer look at the best way to teach breaststroke kick to a student or friend that you’re swimming with.
Contents
- How to teach breaststroke kick step by step
- What are the most common mistakes?
- Tips for a good kick
- How important is counting?
- How important is breathing?
How to Teach Breaststroke Kick Step by Step
The first thing I recommend to people learning to teach any swimming technique is to break things down into stages. Don’t just jump straight into the deep end – literally! Here are the main stages I recommend people try when teaching this kicking technique:
- Practice out of the water first
- Break down each element of the kick
- Practice with a float
Simple, right? Now, let’s take a closer look at each of these stages, so you’ll be teaching like a pro in no time.
1. Start With a Dry Run
When you first introduce the breaststroke kick to your students, never do it in the water, even if you’re teaching one-on-one. Rather, you should explain the entire kick motion at the poolside. Although you might be tempted to do it standing up, I personally find the safest and best way (at least, when you haven’t got that class from hell) to do it lying down.
Have your class form a semi-circle around one side of you, whilst you lie on a bench. As you demonstrate the kick, try to explain what you’re doing so they get both an explanation and visual demonstration of what they need to do. Everyone learns in different ways, so you’re covering more bases this way!
Assuming you’re comfortable, try to get your students to watch from a few different angles whilst explaining it to them each time. You should then get them to each practice on the bench, which will give you the opportunity to correct any mistakes they make before they get in the water.
2. Break Down the Kick
When I was learning this swimming stroke, my instructor showed me everything at once and left me alone to learn the specifics of the technique. But, I wouldn’t recommend this teaching method. I actually found it much harder to learn the correct technique because there was so much to think about – particularly since I wasn’t already familiar with a swimming stroke like this. Instead, the learning process is much easier when the kick is broken into four distinct motions:
- The wedge kick
- The whip kick
- Frog’s legs
- The glide
The Wedge Kick
The first of these two motions, the wedge kick, is the part where your heels draw inwards and your legs bend at the hips. I was taught to think of this motion as a bit like sitting on a seat with your feet under the seat, though not everyone might find that analogy helpful (particularly when I’ve used it with small children).
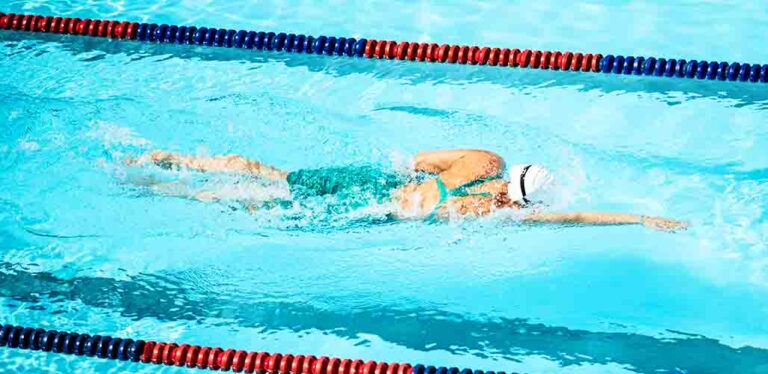
The Whip Kick
The second motion, the whip kick, is arguably the most important part to getting a high-powered kick. It’s the bit where the feet turn outwards and the heels push back and outward in an almost whip-like motion.
Your legs should be a little more a hip’s distance away from each other whilst doing this. I’ve seen some instructors recommend one and a half hip’s distance, but everybody’s different, so I wouldn’t push your students to do that. Just ensure it’s more than a hip’s distance and it’s comfortable for them.
Frog’s Legs
The third motion, the frog’s legs, is the bit where the legs sweep outwards in a rapid, flowing circular motion. This is the bit that drives most of the power, so ensure you communicate to your students that this part is important to get right if they want to master the kick. You might want to let them spend a little longer perfecting this part.
The Glide
Once the kick has been completed, the student’s feet and legs should close together and be as straight as possible to be in the perfect streamline position. This will help the swimmer glide further before they set up for their next kick.
3. Use a Float
When you finally get in the water, do not dump your students in the deep end (figuratively or literally). What I mean here is, don’t try to get them to do both the arm and leg movements at the same time. Teach these parts separately and bring them together only when the swimmer is competent with both.
Instead, whilst they’re practicing their breaststroke kick in the water, give them a float on to. This should be held just in front of the face to help them balance, as well as to prevent them from being tempted to use their arms to help them. This way, they can concentrate fully on their kicking form.
Floats vs Woggles
Note here that I said to use a float. Whilst you might be tempted to use a woggle instead, I’d personally caution against it as they can often cause what I call “woggle burn” and aren’t pleasant for the swimmer or you as the instructor.
Practice the four elements of the kick on their own first, using the float in the water, and then bring it all together. Remember, practice makes perfect, so don’t be afraid to get them to do repeated laps of a certain part of the pool to get it right.
What Are Common Breaststroke Kick Mistakes?
On the topic of mistakes, by far the most common breaststroke kick mistakes I see are:
- Bringing your knees up too far (eg. up to the chest)
- Not pointing your feet outwards
- Kicking with too wide knees
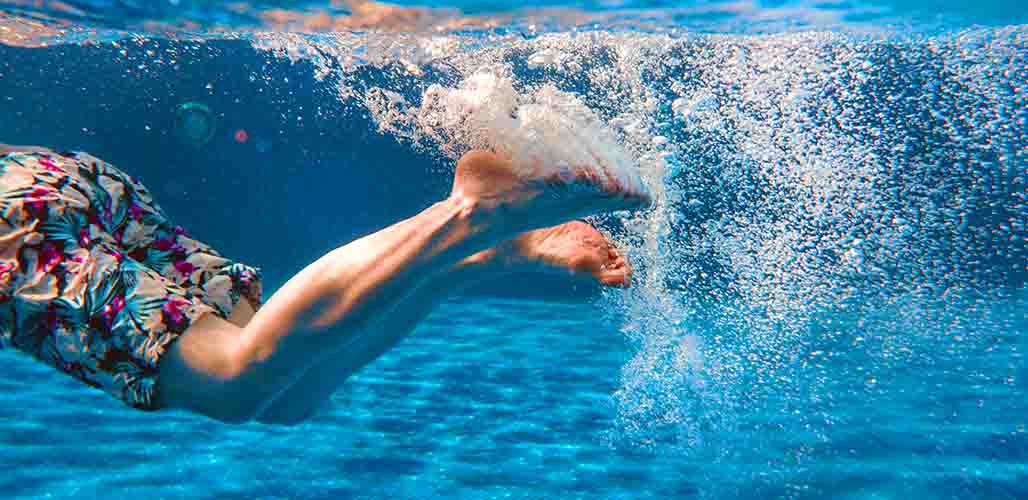
- Breaking the surface with your heels
- Having an incomplete kick
If you notice one of your students doing any of these, the first thing to do is to point it out to them. If this doesn’t work, try working with the swimmer one-on-one to fix it, if you can (and with parental permission), get in the water and use your hands to guide the motion as you walk it through with them.
What Makes a Good Breaststroke Kick?
A good, and by that I mean strong, breaststroke kick includes all of the following:
- Knees spaced a hip and half’s distance away
- Bringing your feet to your bottom
- A fast whipping motion
- Feet pointing outwards
Count Does And Doesn’t Matter
For many more advanced swimmers, especially those looking to get into competition swimming, they think that speed is all about doing the most amount of kicks. And whilst that does work, it’s both tiring and leads to sloppy kicks, which slow you down rather than speed you up.
Instead, you should still teach your students speed, but the speed of your (properly done) kicks. Remember, the majority of the power comes from the kick, so the faster it is, the more powerful it will be.
The best way to do this is through a mock race between your students, and watch each of them. Those that do it well and fast should race each other to practice, whilst you should work in the water, one-on-one (if possible) or in small groups with those that get it wrong.
Emphasize Breathing
A lot of coaches, even the most experienced ones, often forget to emphasize the role breathing can take when teaching breaststroke kicks. In particular, breathing can help with timing, which might help some of your more picky swimmers.
Try to teach it as a fluid in-out motion. Teach them to breathe in at the same time they are beginning to draw their legs inwards, and breathe out once they’ve completed the motion.
For more advanced swimmers, teaching them to take shallow(er) breaths will help them be more streamlined, as when combined with them submerging their head during the re-entry phase of the entire stroke, will make them glide much further.
How to Teach Breaststroke Kick – The Bottom Line
Teaching any new swimming technique can be easy as long as you break things down and take your time to correct any mistakes before they become bad habits. Don’t be afraid to spread your practice over a few sessions, especially if a student is struggling with a particular element. And, remember to always emphasise good form and breathing!